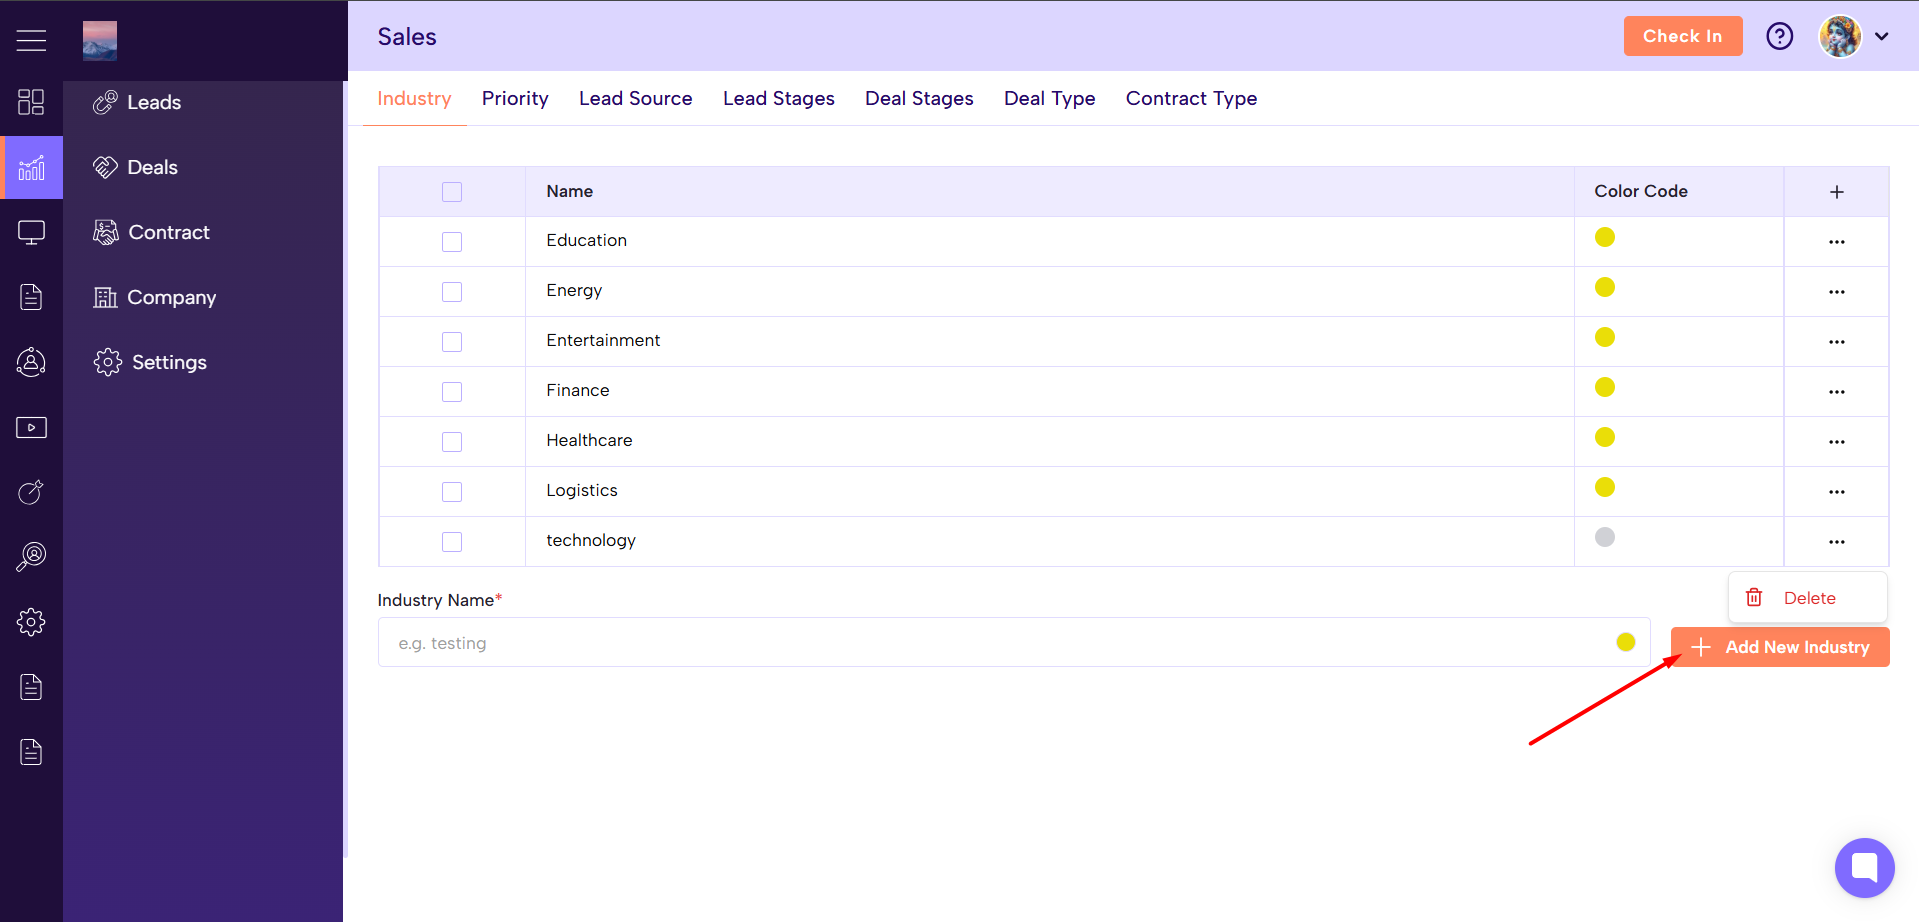
To Add an Industry:
Go to Settings → Industry
Click Add Industry
Enter the industry name
Click Save
To Edit/Delete:
Use the Edit or Delete icons next to any existing industry.
To Add Priority:
Navigate to Settings → Priority
Click Add Priority
Enter the priority name (e.g., High, Medium, Low)
Save your changes
To Edit/Delete:
Select the action icon for updating or removing priority levels.
To Add Lead Source:
Open Settings → Lead Source
Click Add Lead Source
Type the name of the source (e.g., Website, LinkedIn, Referral)
Click Save
To Edit/Delete:
Modify or remove any lead source using the action buttons.
To Add Lead Stage:
Go to Settings → Lead Stages
Click Add Stage
Enter the stage name (e.g., New, Contacted, Qualified)
Save the stage
To Edit/Delete:
Use the respective icons to edit order or delete stages.
To Add Deal Stage:
Navigate to Settings → Deal Stages
Click Add Deal Stage
Enter the stage name (e.g., Proposal Sent, Negotiation, Closed Won)
Save
To Edit/Delete:
Update or remove any stage through the action buttons.
To Add Deal Type:
Open Settings → Deal Type
Click Add Deal Type
Enter the deal type name
Click Save
To Edit/Delete:
Edit or delete any deal type from the list.
To Add Contract Type:
Go to Settings → Contract Type
Click Add Contract Type
Enter the contract type name
Save it
To Edit/Delete:
Modify or remove using the action icons.
Add New: Create new dropdown values anytime.
Edit: Update incorrect names or refine your workflow terms.
Delete: Remove outdated or unused values to keep your CRM clean.
Search: Quickly locate any status using the search bar (if available).
Adding new industries or lead sources as your business grows
Updating sales process stages
Maintaining clean and consistent dropdown data
Removing values that no longer match your workflow
